

Are you struggling to keep your little ones safe while navigating large spaces in your home? A DIY baby gate offers a customizable and budget-friendly solution to ensure your child’s safety without compromising your decor. Discover creative strategies and materials to craft a secure barrier that suits your unique needs and lifestyle.
Understanding the Need for a Baby Gate in Large Openings
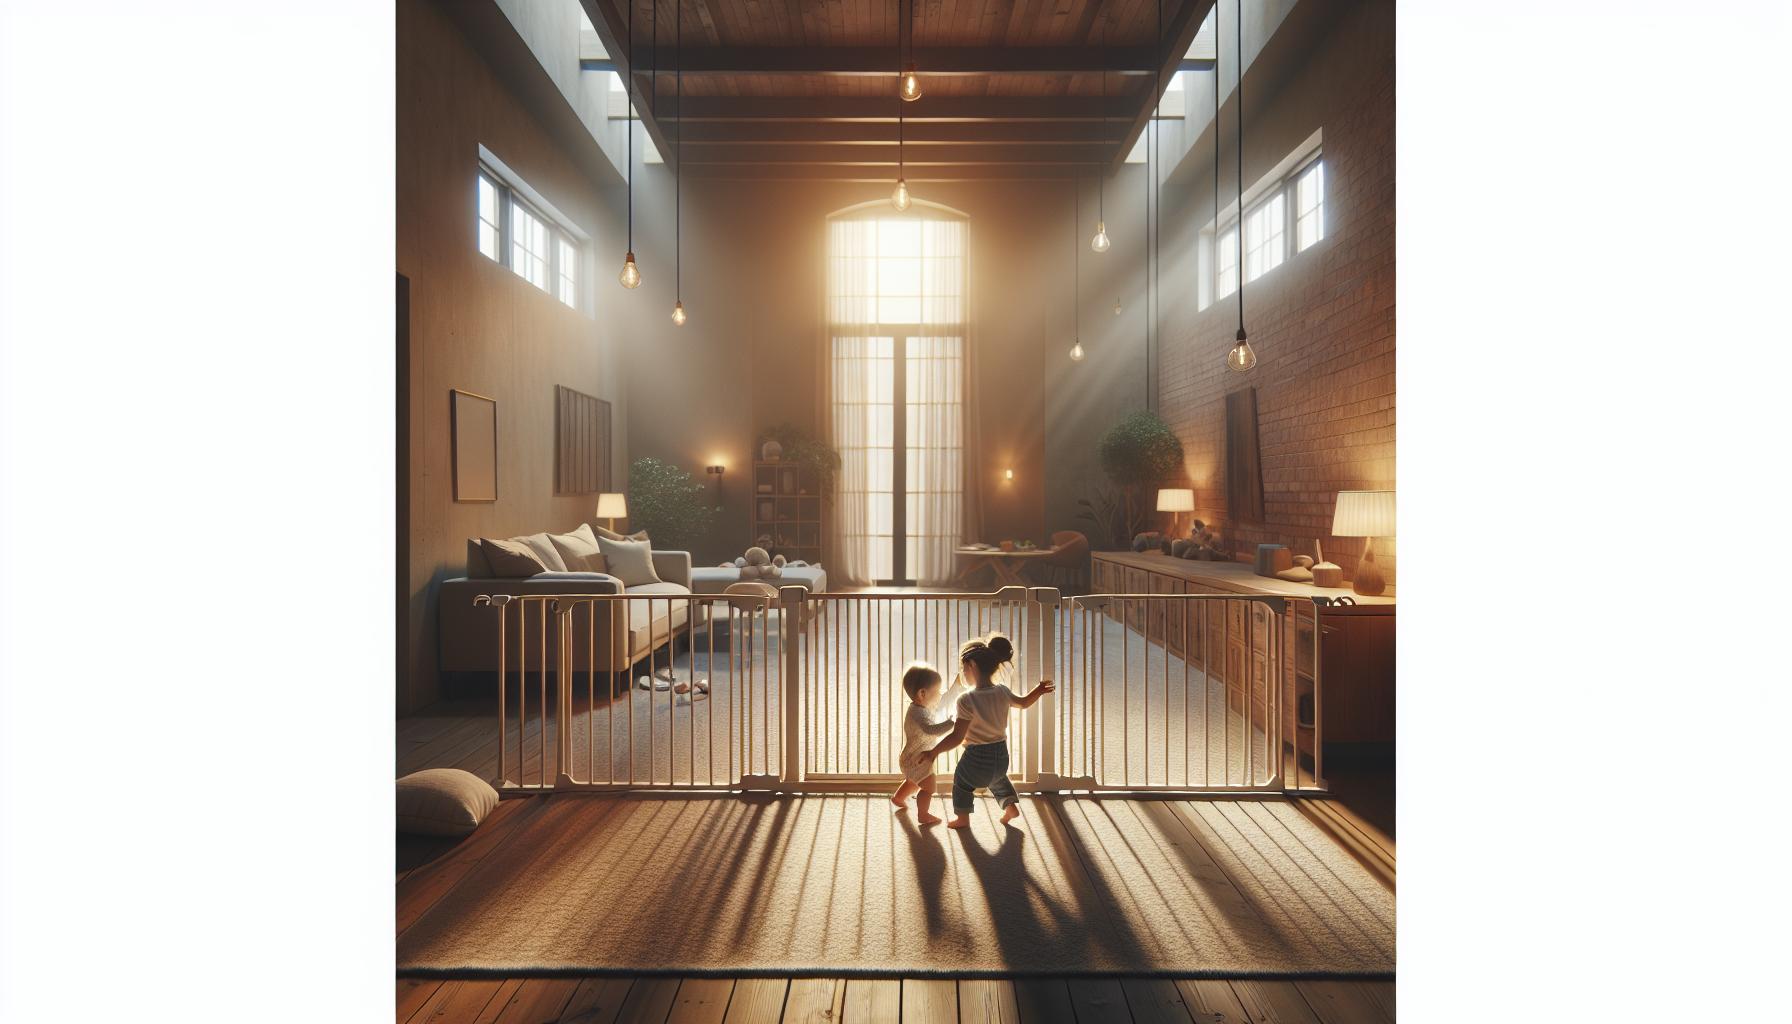
the Importance of Safety in Expansive Spaces
In homes with large openings, ensuring a safe environment for little explorers can be a challenge. A well-placed baby gate becomes an essential tool in managing those vast spaces. When babies start to crawl and explore, their innate curiosity leads them to areas that may pose risks, such as stairs, kitchens, or other rooms where potential hazards lurk. A DIY baby gate not only serves as a physical barrier but can also be customized to fit your home’s unique layout.
Key Considerations for Using baby gates
When deciding on implementing a baby gate in large openings, there are several factors to consider:
- Height and durability: Ensure the gate is tall enough to prevent your child from climbing over, and constructed with durable materials that withstand daily use.
- Ease of Use: Opt for designs that allow adults to easily pass through without constant fumbling—gates with one-handed release mechanisms are particularly user-friendly.
- Secure Fittings: The gate should be mounted securely to prevent it from being pushed or knocked down.
- Aesthetic Appeal: A well-made DIY baby gate can enhance your home decor instead of detracting from it, making it a worthwhile addition rather than an eyesore.
Types of Gate Solutions for Large Openings
There are multiple solutions available for adapting a baby gate to fit large openings. Here’s a brief overview of the most suitable options:
| type of Gate | Best For | Pros | Cons |
|---|---|---|---|
| Hardware-Mounted Gates | Wide openings or top of stairs | Very secure; adjustable widths | Requires installation; not portable |
| Retractable Gates | Temporary safety solutions | Versatile; can be retracted when not in use | Less sturdy than mounted options |
| Expandable Gates | Uneven or irregular openings | customizable length; good for wider areas | May require adjustments for height |
Utilizing a baby gate tailored to your particular environment ensures that you’re not only safeguarding your child but also creating a practical and inviting space. The process of building a DIY baby gate allows parents to engage in a creative project while addressing crucial safety concerns effectively.Each gate can be a unique reflection of your personal style while providing a safe sanctuary for your little ones to grow and explore.
Choosing the Right Materials for Your DIY Baby Gate
When embarking on your DIY baby gate project, the materials you select are pivotal not just for aesthetics but also for ensuring safety and functionality. A properly constructed gate can provide peace of mind, keeping little ones safely contained while allowing easy access for adults. Understanding the characteristics of each material type is essential in making an informed choice.
Types of Materials to Consider
There are several viable options for constructing a baby gate for large openings, each with it’s own unique benefits and considerations. Here’s a closer look at some popular choices:
- Wood: Offering a warm,classic look,wood is a customary choice for baby gates.Make sure it’s high-quality and free from splinters or sharp edges. hardwoods like oak or maple are sturdy and durable, capable of withstanding pressure and wear.
- Metal: Metal gates are incredibly durable and can withstand substantial force, making them less likely to be knocked over or damaged. Options like aluminum or steel may be more expensive,but they can provide an added layer of security and longevity.
- Plastic: Lightweight and easy to handle, plastic gates are also weather-resistant, making them ideal for both indoor and outdoor use. However,ensure that the plastic used is BPA-free for safety.
- Composite Materials: These materials combine the advantages of both wood and plastic. Frequently enough made from recycled materials, composite gates provide durability while being environmentally friendly.
Safety and Compliance
while selecting your materials, it’s crucial to ensure they comply with safety standards. Research guidelines set by organizations such as the American society for Testing and Materials (ASTM) and the Consumer Product Safety Commission (CPSC). Here’s a brief comparison of the safety ratings you should look out for:
| Material Type | safety Rating | Strength Rating | maintenance Needs |
|---|---|---|---|
| Wood | High (if treated) | Moderate-High | Requires regular checks for wear |
| Metal | Very High | High | Minimal upkeep, resistant to damage |
| Plastic | Moderate | Low-Medium | Easy to clean; check for cracks |
| Composite | High | Moderate-High | Low maintenance, resistant to rot |
Choose materials that align with the needs of your household, considering factors like weight, height, and overall design. Regardless of your selection, always prioritize the health and safety of your child while ensuring the gate is functional, stylish, and reliable in supporting a secure environment.
Step-by-Step Guide to Building Your Own Baby Gate
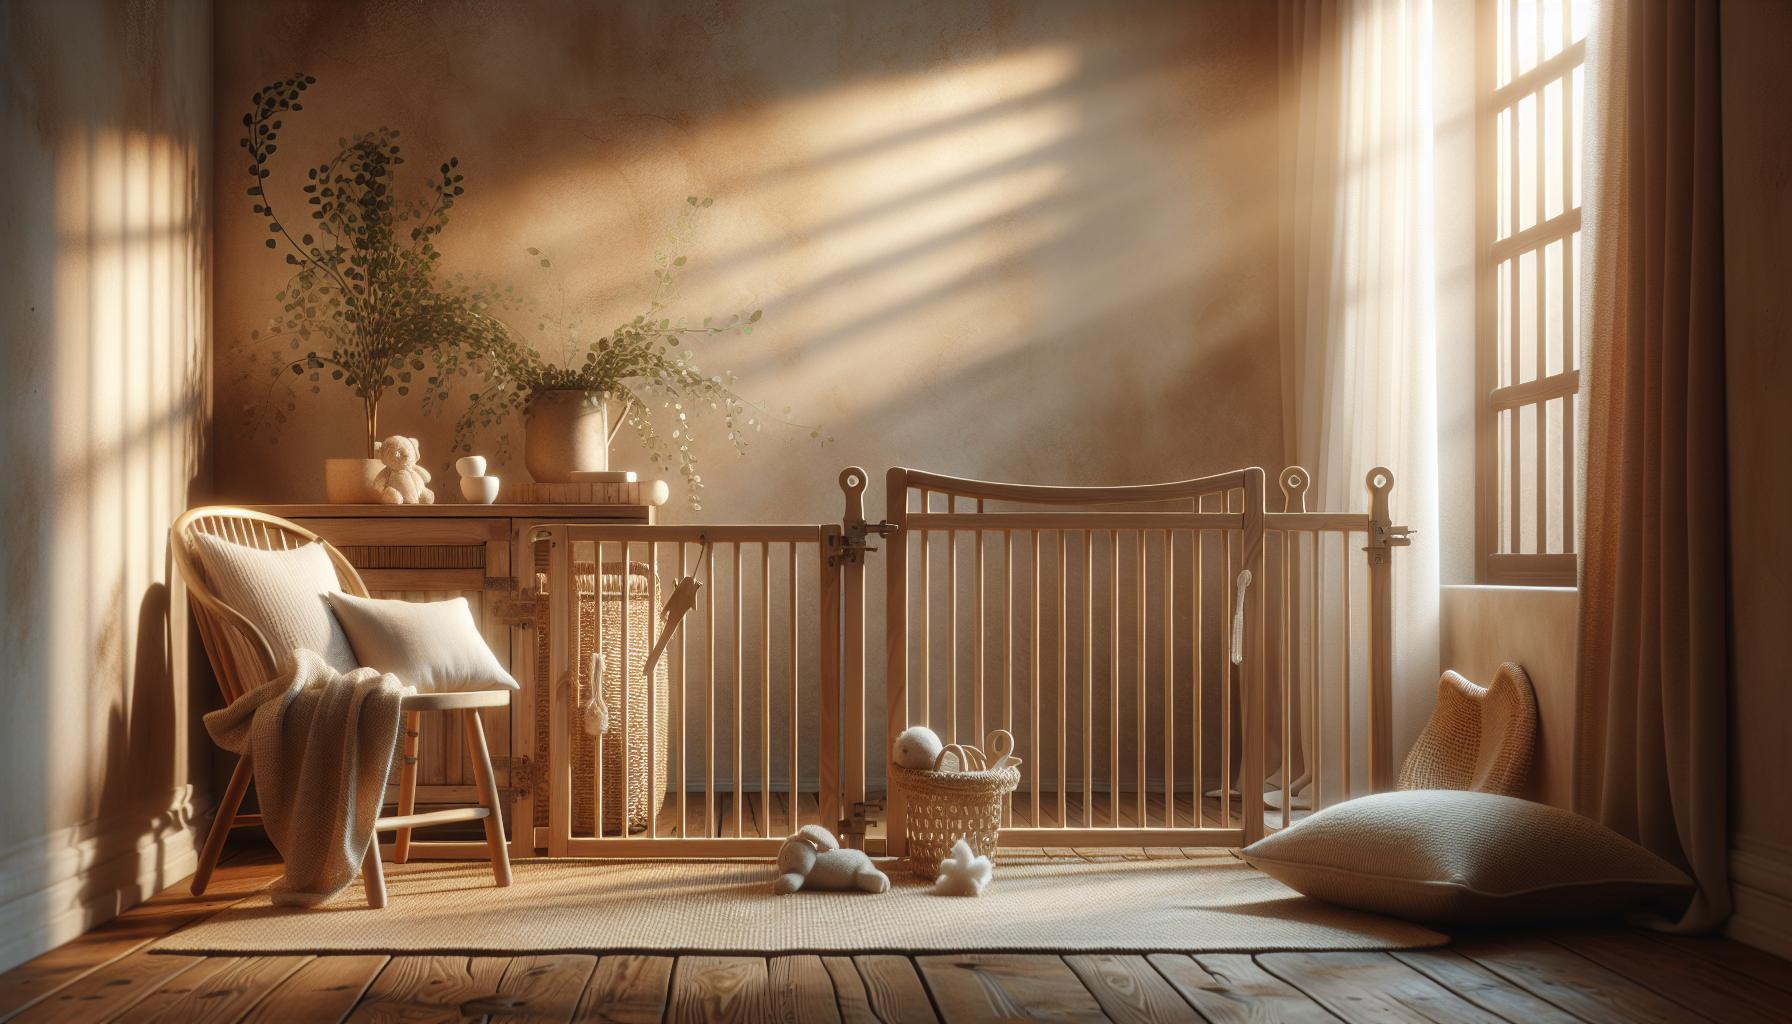
Building your own baby gate can not only enhance safety in your home but also give you the adaptability to customize it to fit large openings perfectly. The right DIY baby gate will keep your little explorers contained, allowing them the freedom to play while you tackle your daily tasks. Here’s a detailed, step-by-step guide to help you construct a sturdy and attractive baby gate for your home.
Required Materials and Tools
Before you begin crafting your baby gate, gather the necessary materials and tools. This will streamline the process and ensure you don’t have to run out mid-project. Here’s what you’ll need:
- Wooden boards (2×4 or 1×4 for a more finished look)
- wooden dowels or metal brackets for better support
- Hinges and a latch mechanism
- Wood screws
- Sandpaper
- Paint or non-toxic wood finish (if desired)
- Measuring tape
- power saw
- Drill
- Level
step-by-Step construction Process
Follow these steps to create a secure and visually appealing baby gate tailored to your space:
1. Measure the Opening
Start by measuring the width of the space you need to cover. Ensure you take measurements at multiple points to account for any inconsistencies in the wall or floor. Subtract one inch from the total width to allow for hinge placement and ensure the gate swings freely.
2. Cut the Wood
Using your power saw,cut the wooden boards to the measured dimensions. A standard height for baby gates is between 30 to 36 inches, which deters climbing. It’s advisable to cut your top and bottom rails about 1-2 inches wider than the opening to have enough space for both the hinges and latch installation.
3. Assemble the Frame
next, lay out your cut pieces on a flat surface and assemble them into a rectangular frame. Use wood screws to attach the vertical boards to the horizontal rails, ensuring each corner is secure. If using wooden dowels, drill holes in the connecting points for added strength.
4. Design the Gate Slats
For additional safety, you can add vertical slats within your frame to prevent your baby from slipping through.Space the slats no more than 3 inches apart. Attach them using screws,ensuring they are flush with the frame for a seamless look.
5. Sand and Paint
Once the assembly is complete, smooth any rough edges using sandpaper and apply a non-toxic paint or wood finish. This not only enhances the gate’s appearance but also protects the wood from wear and tear.
6. Install the Gate
With your gate now ready, find the appropriate location to hinge it. Use a level to ensure the gate will hang straight.Attach your hinges on one side of the gate and fix them securely to the wall. On the opposite side,install your latch mechanism,ensuring it is positioned at a height that is out of reach for children yet accessible for adults.
| Materials | Purpose |
|---|---|
| Wooden boards | form the gate frame |
| Hinges | Enable the gate to swing |
| Latch | Secure the gate when closed |
| screws | Connector for all parts |
With these steps followed carefully, you’ll have a sturdy and pleasing DIY baby gate for large openings that perfectly meets your family’s needs. Tailoring the design and dimensions will not only enhance safety in your home but also provide a functional piece that complements your decor.
Creative Design Ideas for Your DIY Baby Gate
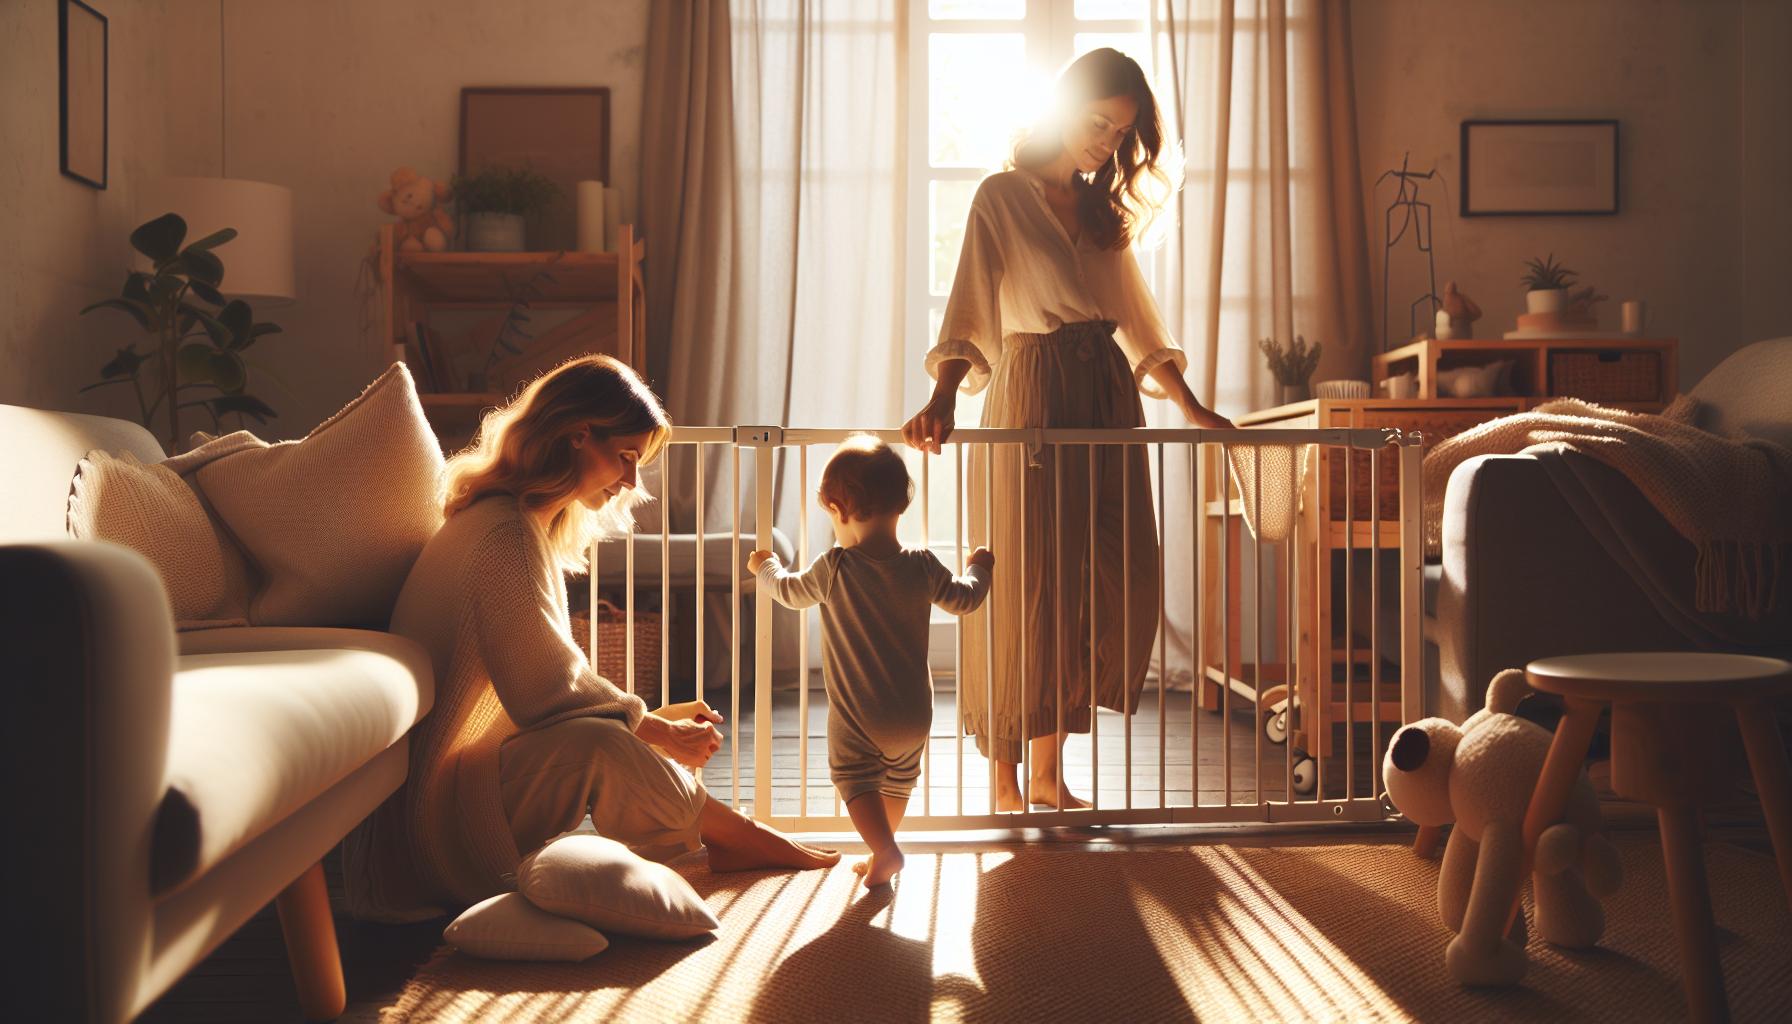
Creating a DIY baby gate can be both a functional safety solution and a canvas for your creativity. A well-designed gate not only serves to secure your home but can also enhance its aesthetic appeal. By utilizing unique materials, colors, and designs, you can craft a personalized baby gate that fits seamlessly into your living space. Here are some creative design ideas that will inspire your DIY project:
Material Choices
Choosing the right material can drastically change the design of your baby gate while ensuring it meets safety standards.
- Wood: Offers a classic look. Consider using reclaimed wood for a rustic touch or painting it in bright colors to match the decor.
- metal: Provides durability and modern appeal. A welded metal frame can give a chic, industrial vibe.
- Fabric: For more temporary solutions, consider a fabric or mesh gate that can be easily stored away when not in use.
This variety allows for customization according to your home’s style, whether you’re going for a minimalist or a more eclectic look.
Functional Features to Enhance Design
in addition to aesthetic value, adding unique functional features can elevate your DIY baby gate design beyond the ordinary:
- Sliding Mechanism: Instead of a swing gate, consider a sliding design that saves space and adds an element of elegance.
- Integrated storage: Incorporate shelves or hooks on your gate for toys or other items, making it both functional and stylish.
- Custom Artwork: Paint or stencil a design or your child’s name on the gate to give it a personal touch.
By integrating these features, your baby gate will not only be a safety apparatus but also a unique design element in your home.
Color and Finish
The finish of your DIY baby gate can significantly impact its overall appearance. Here are some ideas to consider:
| Color Options | Design Impact |
|---|---|
| Neutral Tones | Creates a warm, inviting atmosphere and complements any decor. |
| Bold Colors | Make a statement and become a focal point in your space. |
| Natural Wood Finish | Enhances the organic elements of your home while staying timeless. |
Choosing the right color scheme can provide a lovely contrast or harmonize with your existing decor, making your gate as stylish as it is practical.With these creative design ideas, your DIY baby gate can transform into a statement piece that blends functionality and style. Whether you opt for a classic wooden gate,a sleek metal design,or a playful fabric option,the resulting project will not only keep your little one safe but will also enhance the look of your home.
Ensuring Safety: Key Features to Include in Your Baby Gate
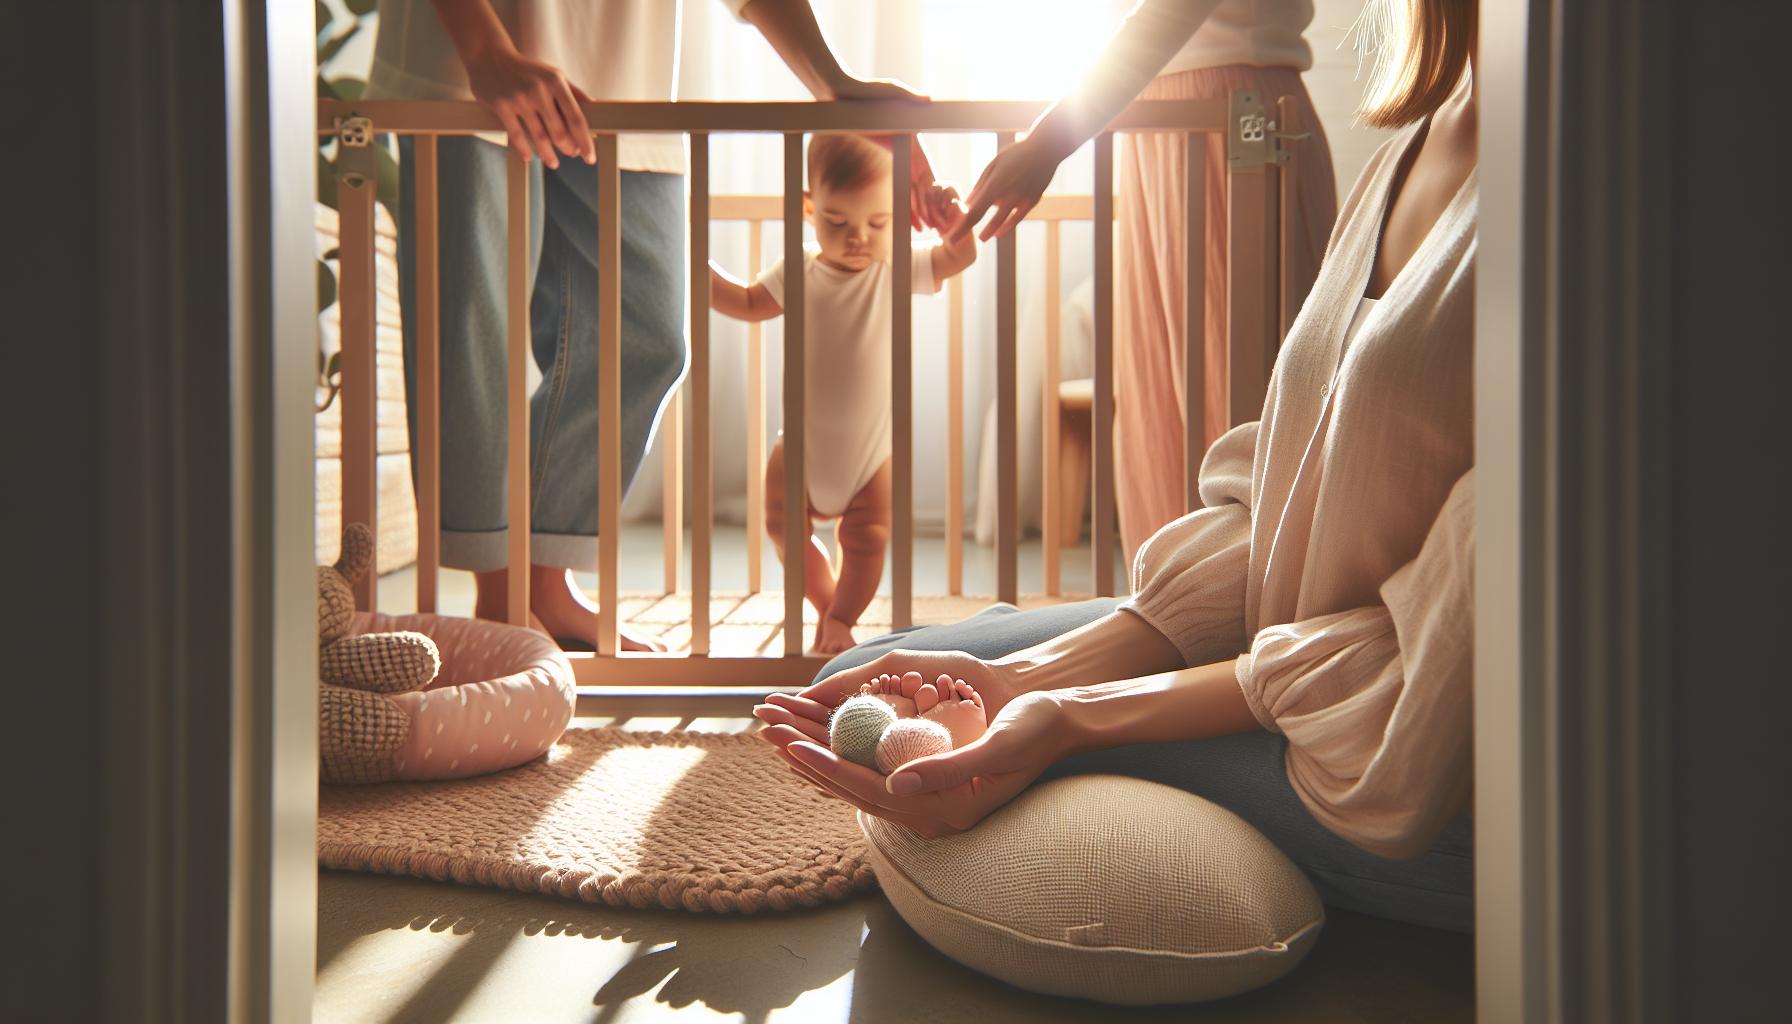
When it comes to child safety, particularly in homes with large openings, a well-designed baby gate can be a family’s first line of defense. Beyond just achieving a physical barrier, the features of your DIY baby gate must ensure security, durability, and ease of use.
Essential Design Features
A sturdy design is paramount for any DIY baby gate,especially if it spans a wide opening. Here are key features that should never be overlooked:
- Height: The gate should be at least 30 inches tall to prevent a determined toddler from climbing over.
- Material: Opt for robust materials like solid wood or metal.Avoid flimsy plastics that might warp or break.
- Lock Mechanism: A child-proof locking system is crucial. Look for locks that are easy for adults to operate but challenging for little hands.
- Stability: The gate must resist tipping. Ensure that it can be securely mounted if it’s not a pressure-mounted design.
Safety Considerations
Understanding that babies are naturally curious, your gate must be designed to thwart their adventurous spirit. Implement the following safety considerations:
- No Gaps: Ensure there are no gaps larger than three inches to prevent a child’s head from getting stuck.
- Non-toxic Finishes: Use non-toxic paint or seals to finish your gate, protecting your baby from harmful chemicals.
- Smooth Edges: Round off sharp edges and corners to prevent injuries in case of accidental bumps.
Convenience Features
In addition to safety, consider features that enhance convenience for parents and caregivers:
- Walk-through Design: A gate with a walk-through feature makes it easier for adults to pass through without constantly needing to remove the gate.
- Ease of Installation: ensure your DIY setup is straightforward. This avoids frustration when setting up the baby gate.
- Adjustable Width: look for adjustable options to accommodate the fluctuating needs of your home’s layout.
Cost and DIY Planning
Creating a DIY baby gate for large openings can range significantly in terms of material costs based on the choices you make. Below is a simple table outlining the average expenses you might encounter, helping you prepare a budget.
| Material | Average Cost |
|---|---|
| Wood (Pine, Oak) | Approx. $50 - $100 |
| Metal | approx. $70 – $150 |
| Lock Mechanisms | Approx. $10 – $30 |
| Paint/Stain (Non-toxic) | Approx. $10 – $25 |
By incorporating these essential features into your DIY baby gate,you will create a safe and functional barrier that not only protects your child but also fits seamlessly into your home.
Installing Your Baby Gate: Tips for a Secure Fit
Did you know that improperly installed baby gates can lead to dangerous accidents? Ensuring that your baby gate is securely installed is not just a matter of convenience; it’s vital for your child’s safety. In this section, we’ll walk through essential tips to make sure your DIY baby gate fits comfortably and securely in large openings.
Assess Your Space
Before diving into the installation, take the time to assess the opening where the gate will be installed. Doing so will help you understand the best mounting options and ensure a snug fit. Consider the following:
- Width Measurement: Measure the total width of the opening accurately. A gate that is too narrow won’t provide the necessary security.
- Surface Type: Determine what type of wall or surface you will be mounting the gate against (drywall, wood, etc.),as this will affect the hardware you need.
- Height Consideration: keep in mind the height of the gate, especially if you have a climber.A taller gate can deter adventurous toddlers.
Choose the Right Hardware
Using the correct hardware is crucial for a successful installation. Make sure to select mounting brackets that are sturdy enough to support the weight of the gate and withstand the pressure a child may exert. Here are some options to consider:
| Mounting Type | Description | Best For |
|---|---|---|
| Wall-mounted | Secure brackets directly to the wall for a permanent installation. | High-traffic areas. |
| Pressure-mounted | Uses rubberized ends to create friction against walls, allowing easy installation. | Temporary use or rental homes. |
Installation Tips for a Secure Fit
Now that you’re armed with the right measurements and hardware, it’s time to install the gate. Here are actionable steps:
- Use a Level: Ensure the gate is straight by using a level tool during installation. An uneven gate can create gaps,making it less effective.
- Drill Pilot Holes: If you’re wall-mounting, drill pilot holes for screws to avoid damaging the wall and make for easy installation.
- Check for Movement: After you’ve mounted the gate, test it by pushing and pulling gently to ensure there is no excessive movement.
- Regular Maintenance: Periodically check the tightness of the screws and the overall integrity of the gate. A well-maintained baby gate will last longer and offer better safety.
By following these tips, your DIY baby gate for a large opening will not only look great but will also provide a safe barrier for your little explorer, giving you peace of mind while they play and explore.
Customization Options to Fit Your Home’s Aesthetic
Whether you’re complementing a modern minimalist living space or a cozy rustic home, creating a DIY baby gate for large openings doesn’t have to compromise your aesthetic. With thoughtful design and personalization, your child safety gate can become an attractive feature rather than an eyesore. Here are some customization options to make your gate seamlessly blend with your home’s decor.
Materials and Finishes
Choosing the right materials is foundational in achieving a gate that matches your style. Here are some common options you might consider:
- Wood: This classic choice can be stained or painted to match your existing furniture or trim. Consider using reclaimed wood for a rustic touch.
- Metal: If your home leans toward industrial or modern aesthetics, a metal frame with a matte finish can offer both durability and style.
- Composite Materials: these can mimic the look of wood while offering great durability, making it perfect for high-traffic areas.
Whichever material you choose, be sure to apply a finish that enhances and protects it, ensuring longevity while keeping the design cohesive with the overall home aesthetic.
Design Features
The design features of your DIY baby gate can also enhance your home’s look. Consider the following:
- Color Coordination: Select colors that complement your walls or furniture. A bold color can be a statement piece, while muted tones can create a more harmonious look.
- Shapes and Patterns: Customized slats or decorative cutouts can provide a personal touch. Geometric patterns or whimsical designs can add visual interest,especially if you have children.
- Hardware Choices: The hinges, latches, and knobs should also match your overall decor—brass for a vintage feel, or sleek black for a modern touch.
These details not only contribute to the safety of your space but can also enhance its character and charm.
Incorporating Functional Decor
Your baby gate can integrate with your home decor theme while serving its main function. Here are some ideas:
- Artistic Additions: Paint the gate to mimic an art piece. Use stencils or even decals that reflect your child’s personality or interests.
- Storage Solutions: Incorporate shelves into the design for toys or books, turning the gate into both a barrier and a functional unit.
- Seasonal decorations: Add hooks or hangers so you can personalize the gate with seasonal wreaths or decorations, bringing a festive element to the home.
Embracing these customization options will allow your DIY baby gate for large openings to not only serve as a safety solution but also as an integral piece of your home’s aesthetic, beautifully marrying function with style.
| customization Option | Description |
|---|---|
| Material | Wood, Metal, or Composite for aesthetic and durability |
| Design | Color matching, unique shapes, and decorative hardware |
| Functional Decor | Artistic customizations, storage shelving, seasonal elements |
By focusing on these customization ideas, you’re not just installing a barrier; you’re enhancing your home’s decor while ensuring safety for your little ones.
Troubleshooting Common DIY Baby Gate Issues
It’s a common dilemma for parents and caregivers: you’ve crafted the ideal DIY baby gate for large openings to keep your little ones safe, but now you’re facing unexpected challenges. Whether it’s stability issues, difficulty in operation, or gaps that could pose safety risks, troubleshooting these concerns is essential. Here are some of the most frequent issues encountered with homemade baby gates and effective solutions to ensure your creation remains both functional and secure.
Stability problems
One of the key elements of any baby gate is its stability. If your DIY baby gate isn’t holding firm, it may be necessary to reassess your installation or materials:
- Check the Anchoring: Ensure that the gate is properly anchored to the wall or structure. Using more robust brackets or additional screws can provide the necessary support.
- Reinforce Joints: Inspect the joints and connections of the gate. Applying wood glue or corner brackets can strengthen these areas and prevent wobbling.
- Weight Distribution: Sometimes, adding extra weight at the base of the gate can definitely help with stability. This could be as simple as attaching a weighted strip to the bottom of the gate.
Difficulty in Operation
A DIY baby gate should be easy for adults to operate but secure enough to prevent toddlers from escaping. If you’re finding it difficult to open or lock the gate, consider the following:
- Test the Mechanism: If you used a latch or sliding mechanism, test it for smooth operation. Lubricating moving parts can alleviate stiffness.
- Adjust the Height: Ensure that the latch is placed at a height that’s easy for adults but out of reach for children. Adjusting its position may improve functionality.
- Reevaluate Design: If the design is too complex,a simpler approach might work better. Sometimes a straightforward slide or lift mechanism can be more effective.
Gaps and Safety Risks
Even the best DIY designs can have gaps that pose safety concerns.A thorough inspection can help identify potential hazards:
- Measure Openings: Use a measuring tape to ensure that there are no gaps greater than 3 inches between the gate and the wall. If there are, it might be beneficial to install a gate extension or cover.
- Seal Edges: Gaps at the top or bottom can be mitigated by adding foam strips or rubber stops that will close off these spaces while maintaining the gate’s functionality.
- Evaluate Height: If necessary, consider increasing the height of the gate. Standard baby gates range from 29 to 36 inches tall; ensure yours is appropriate for your child’s age and mobility.
By addressing these common issues,you can enhance the safety and usability of your DIY baby gate,maintaining a secure environment in your home. Taking the time to troubleshoot will not only ensure the integrity of your creation but give you peace of mind knowing your little ones are protected.
Frequently Asked Questions
What is a DIY Baby gate for Large Opening?
A DIY Baby Gate for Large Opening is a custom-built safety barrier designed to securely block off wide spaces in your home, preventing children from accessing unsafe areas. These gates can be made from various materials and tailored to fit the specific dimensions of your opening.
Creating your own baby gate can be a rewarding project,allowing you to choose the style,materials,and design that best match your home decor.Many parents find that a DIY solution meets their needs perfectly, especially for larger openings that standard products may not fit.
How to build a DIY Baby Gate for Large Opening?
To build a DIY Baby Gate for Large Opening,start by measuring the width and height of the opening. Gather materials such as wood or PVC, screws, hinges, and a latch.Cut the material to size, assemble it, and install using sturdy hinges for safety.
Make sure to reinforce the structure and add a locking mechanism that is easy for adults to operate but challenging for little ones. For a more detailed guide, check out our article on safe solutions for your home, which includes tips on materials and best practices.
Can I use a fabric baby gate for wide spaces?
yes, you can use a fabric baby gate for wide spaces, but ensure it’s securely installed and designed for durability. these gates are ofen lightweight, portable, and can be an effective solution for temporary or versatile use.
While fabric gates can provide safety, they are generally less sturdy than wooden or metal gates. Make sure to follow the manufacturer’s instructions for installation, and always supervise young children when using these types of gates.
Why does my baby need a DIY Baby Gate for Large Opening?
A DIY Baby Gate for Large Opening is essential for keeping your baby safe from hazardous areas in your home, like stairs or areas with fragile items. It creates a physical barrier that helps define safe play zones.
Babies are naturally curious, and as they become more mobile, the risk of accidents increases. A baby gate not only prevents access to unsafe areas but also provides parents peace of mind. Investing time in a customized solution ensures it meets your family’s specific needs.
What materials are best for a DIY Baby Gate?
The best materials for a DIY Baby Gate for Large opening include hardwood, PVC, and metal. Each material has its advantages depending on durability, aesthetics, and ease of installation.
Hardwood provides sturdiness and a beautiful finish,while PVC is lightweight and resistant to moisture. Metal gates are highly durable, making them suitable for high-traffic areas. Consider your home’s style and environment when choosing the material to ensure safety and visual appeal.
Can I install a DIY Baby Gate by myself?
Absolutely! Many parents successfully install a DIY Baby Gate for Large Openings without professional help.With basic tools, a clear plan, and the right materials, you can create a safe and effective barrier.
For best results, follow the instructions carefully and ensure all fittings are secure. If you’re unsure about any step, don’t hesitate to seek help from online tutorials or ask a friend to assist in the installation process.
Where can I find plans for a DIY Baby Gate for Large Opening?
You can find numerous plans and tutorials online for building a DIY Baby Gate for Large Opening. Websites and platforms dedicated to DIY projects often provide free resources to guide you in creating a safe and functional gate.
Consider visiting your local home improvement store for materials, as they may also offer project ideas and advice. Additionally, books on home safety or parenting can provide insights into best practices for building your baby gate.
Final Thoughts
As we wrap up our exploration of DIY baby gates for large openings, it’s clear that creating a safe space for your little ones doesn’t have to be complicated or costly. By understanding your options and applying some creative solutions, you can customize a gate that meets your family’s unique needs. Remember,safety is paramount,and a well-designed gate not only provides security but also peace of mind as your child explores their world. We encourage you to take these insights and get started on your own project—your child’s safety is worth the effort! For more tips, designs, and support as you navigate this parenting journey, feel free to dive deeper into our resources. You’re not alone on this path, and together, we can create a more secure environment for our children to thrive. Happy crafting!

